Exhibition Stall Design & Build Guide | Krrish Creation
Table of Contents
Planning an exhibition and need a booth built? The right partner should help you turn your event space into a clear, workable brand experience—from the first floor-plan review to fabrication, installation and handover. This guide explains how to brief an exhibition stall design company, compare proposals and plan a booth that supports the way your team sells.
Quick answer: shortlist suppliers by checking relevant completed projects, clarity of 2D/3D drawings, material specifications, quotation inclusions, organiser approval support and who is accountable on site. Send the same written brief to each supplier so you can compare the scope fairly.
Krrish Creation is based in Ahmedabad and works with exhibitors across India and international markets. With 10+ years of experience, our team connects exhibition stall design, fabrication and project coordination around your event requirements. If you already have a brief, share your exhibition details for a project discussion.
Start with a brief your designer can use
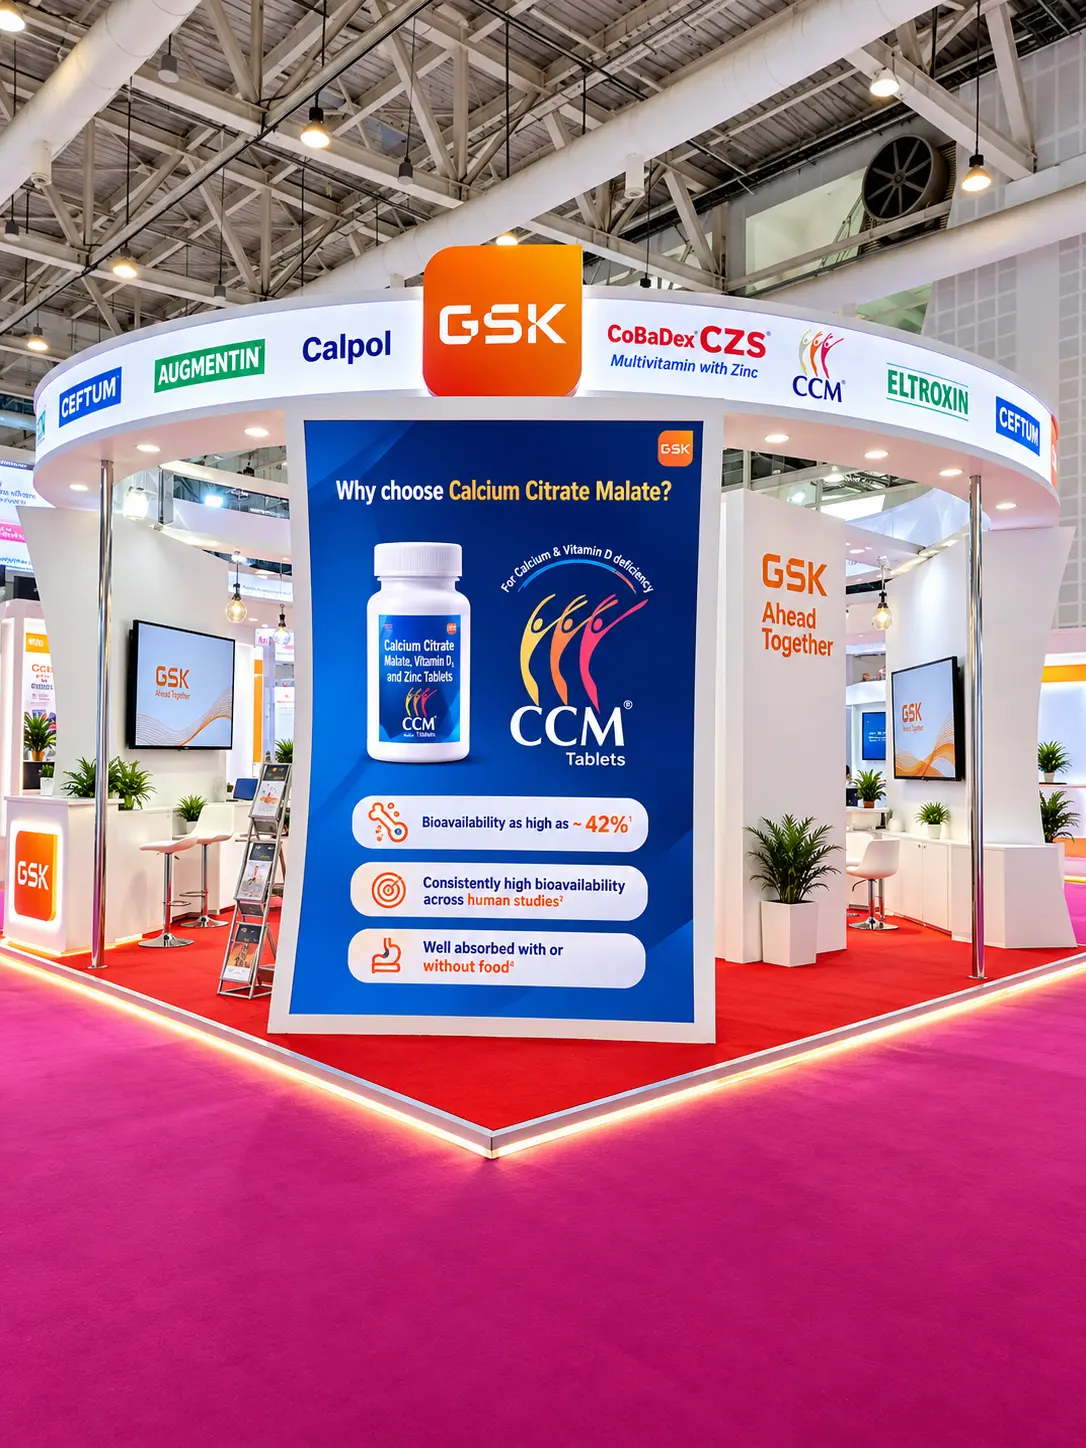
A reference image can show a style you like, but the stall design team also needs to understand your product, audience and event rules. A practical brief makes it easier to prepare a relevant layout, estimate and schedule. Include:
- • Exhibition name, venue, city, dates, hall and booked stall number.
- • The organiser’s floor plan showing dimensions, height limits and open sides.
- • Your logo, brand guidelines, campaign message and preferred colours.
- • Product dimensions, weights, display methods, power needs and demo requirements.
- • How you expect visitors to use the space: browse, watch a demo, meet or request a quote.
- • Budget range, approval deadline, installation window and the services you need.
Tell the designer what the booth must help your team accomplish. A product launch may need a demonstration zone; a distributor meeting may need quieter seating; heavy machinery may need clear access and a safe viewing area. These details are more useful than a style reference alone.
How to choose an exhibition stall design company
A convincing render is a starting point, not enough evidence to choose a supplier. Look for completed projects that resemble your booth size, product type and display requirements. Then ask how the proposed structure, materials and installation plan will work at your particular venue. The answers should help you compare responsibility and execution as well as appearance.
| Compare | Ask | Look for |
|---|---|---|
| Portfolio | Have you completed projects with a similar product or layout? | Real project photos, scale, finish and a clear description of the supplier’s role. |
| Design deliverables | What will I review before fabrication? | Floor plan, visitor flow, key elevations, 3D views, materials and revision steps. |
| Fabrication | Who is responsible for the build and quality checks? | Named production responsibility, material notes and a documented inspection process. |
| Site work | Who coordinates delivery, installation and handover? | A project contact, milestone dates and a plan for venue access and on-site issues. |
| Quotation | What is included, excluded or billed separately? | Line items, assumptions, taxes, logistics and a process for pricing changes. |
Ask to see work that resembles your brief in size and complexity. Review the exhibition stall design and fabrication portfolio to compare completed booth formats, product displays and finishes. A useful proposal should make it clear what the company will deliver, when it will deliver it and what decisions it needs from you.
What should your design partner deliver?
Your design partner should translate the brief into a layout that can be reviewed, priced and built. Depending on the agreed scope, deliverables may include a floor plan, 3D views, graphic placement, material specifications, construction drawings and an installation schedule. Ask for a written list so you know what you will receive and which decisions require your approval.
Some exhibitors need design only because they already have a builder. Others need a fabricator to execute approved drawings. If you want one coordinated project conversation, ask whether design and build can be scoped together.
Krrish Creation’s exhibition stall design service provides a starting point for layout and concept planning. If you already have approved drawings, discuss the materials, finish and production requirements through our fabrication service.
For a broader project scope, explore our custom exhibition stand builders or trade show booth contractor service. The proposal should explain which stages are included and who takes responsibility for each one.
Plan the space around your visitors
Start with the plot you have actually booked. A one-side-open booth needs a clear message facing the aisle. A corner plot can invite visitors from two directions. A three-side-open or island stall needs a layout that makes sense from several approaches. Confirm the number of open sides and any height or structure limits before the design is finalised.
Map a simple visitor journey: notice the brand, understand the offer, view or try the product, speak with a team member and move to a deeper conversation if interested. Keep the entrance easy to read. Place counters, product plinths and seating where they do not block the aisle or interrupt a demonstration. Plan cable routes, storage and staff movement at this stage so they do not become last-minute fixes.
For compact spaces, a modular stall design may offer flexibility and future reuse. A custom stall design can be more suitable for a product launch, a distinctive brand environment or a display with unusual technical needs. Compare the expected number of uses, transport, storage, graphic replacement and adaptation costs before you decide. Choose the format that fits your objectives and constraints.
What affects exhibition stall design and fabrication cost?
There is no reliable universal price based only on square metres. Two booths with the same area can differ because of structure, materials, lighting, product displays and venue arrangements. Ask every supplier to quote against the same brief, then compare the complete design and build scope rather than one headline figure.
- • Stall dimensions, open sides, height and structural complexity.
- • Materials, surface finishes, flooring, joinery and custom fixtures.
- • Graphics, illuminated branding, lighting, electrical and AV requirements.
- • Product weight, machinery access, demonstrations and storage.
- • Transport distance, access windows, installation and dismantling.
- • Revision rounds, organiser submissions and changes after approval.
Ask whether design, fabrication, printing, furniture, transport, installation, dismantling and taxes are included. Venue or organiser charges—such as power, rigging or internet—may be separate, so check the exhibitor manual. If a proposal leaves out an item, ask for it to be listed as included, excluded or provisional. A clear quotation helps you make decisions before production begins.
Custom, modular or shell-scheme stall design?
A custom stall design gives more freedom over structure, finish and product storytelling. It can suit an important launch or a booth with specialist display needs, but it needs a clear brief and early approvals. Modular construction uses adaptable components and can be worth considering when reuse and flexibility matter. A shell-scheme upgrade can work when the event provides basic walls and you mainly need graphics, counters or product display additions.
Ask the supplier what can be reused, what will need replacement, how it will be transported and who will store it between shows. Compare the expected lifecycle cost, not just the first event. A modular system is not automatically cheaper, and a custom booth is not automatically better; the right format fits how often you exhibit and what visitors need to experience.
Agree the schedule before production begins
Work backwards from the exhibition opening. Confirm the organiser’s drawing-submission dates and the venue’s build-up schedule first. Then agree milestones for the initial concept, revisions, final artwork, approval, fabrication, dispatch, installation and handover. Larger structures, complex machinery displays and international logistics may require additional coordination.
Before production starts, record the approved dimensions, drawings, graphics, materials, inclusions and change process. Ask who submits drawings to the organiser and who responds if revisions are requested. This keeps your marketing team, contractor and venue working from the same information. Late changes can affect both cost and schedule, so get the impact confirmed in writing.
From your first enquiry to booth handover
- • Share the brief: send the event details, floor plan, brand files, product information and budget range.
- • Review the concept: check visitor flow, messaging, product placement, meeting space, materials and views from the aisle.
- • Confirm the scope: agree deliverables, inclusions, exclusions, revisions, approvals and the project contact.
- • Approve production: sign off drawings and artwork, then confirm the fabrication and delivery schedule.
- • Prepare for handover: confirm installation access, inspection, on-site support and dismantling arrangements.
Krrish Creation brings 10+ years of experience to exhibition projects in India and international markets. Our team starts with your event, products and practical requirements, then discusses a suitable design and fabrication scope. For local planning, see our guide to exhibition stall design in Ahmedabad and Gandhinagar.
Exhibition stall designer, stand builder or booth contractor?
The person developing your concept may not be the person building it. A designer usually handles space planning, branding and visualisation. A builder or fabricator executes approved drawings, while a contractor may coordinate several stages. Company titles vary, so ask who is responsible for each deliverable rather than assuming a service name tells you everything.
Ask who owns the drawings, who sources the materials, who submits plans to the organiser, who installs the exhibit, and who is available if a problem appears during build-up. A supplier that explains these responsibilities plainly is easier to evaluate than one that only says it offers a complete package.
If you already have drawings, request an exhibition stand fabrication quotation. If your brief is still at the idea stage, begin with an exhibition stall designer and ask for a layout and 3D views before fabrication. If you want one project lead from concept to handover, ask the contractor to quote a coordinated design-and-build scope.
Match the layout to your booked space
The layout type affects what visitors see, where they enter and how your team can use the floor area. Use the organiser’s official floor plan as your starting point. Verify the plot dimensions, access sides, neighbouring stands, height limits and any structural restrictions before choosing a concept.
- • One-side-open or inline stall: the front faces a main aisle. A clear back-wall message, easy-to-see product display and welcoming entrance are important.
- • Two-side-open or corner stall: visitors can approach from two aisles. Plan branding and entry points for both directions so one open side does not feel like a back door.
- • Three-side-open or peninsula stall: visitors can approach from three sides. A three side open stall design should give each approach a reason to enter while leaving enough room for product demonstrations and conversation.
- • Four-side-open island stall: visitors can walk around the entire stand. A four side open stall design needs a strong central feature, visible branding and clear zones without blocking circulation.
For a small booth, keep the priorities focused: one main message, a few important products and a clear point of contact. For a larger island, define separate areas for display, demonstrations, meetings and storage. Layout decisions should follow the visitor task, not a trend copied from another show.
What to review in a 3D stall design
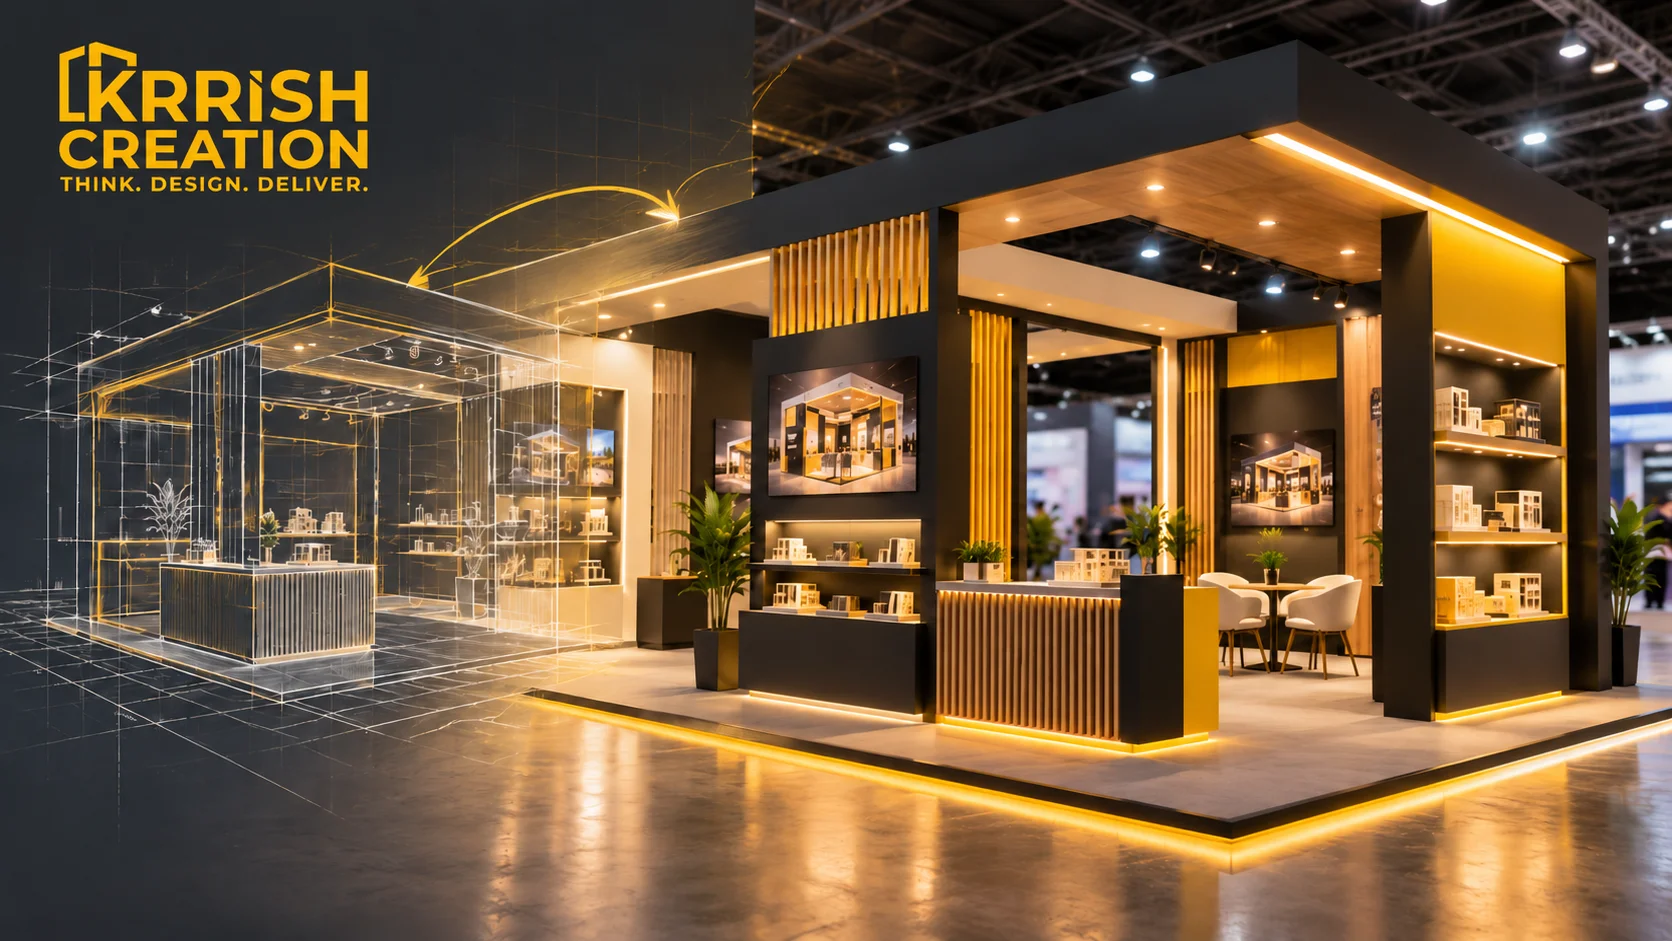
A 3D stall design helps you assess the idea before materials are ordered. Do not review only the most dramatic front view. Look at the entrance from each aisle, the visitor’s view from inside, product heights, graphic legibility, furniture clearances and the way staff will move during a busy period. The booth should be understandable from the aisle and comfortable once visitors enter.
Before you approve the concept, check that the render matches your actual dimensions and open sides. Confirm storage, power outlets, screen locations, counter heights, lighting, product access and any machinery requirements. Ask for a floor plan and elevations alongside the 3D views so the concept can be translated into buildable drawings. Note revisions in one marked-up file and approve the final artwork and materials in writing.
Keep the design connected to your offer. A technology booth may need working screens and a place for a short demo. A food brand may need sampling surfaces and a queue plan. An industrial exhibitor may need safe access to equipment. This kind of practical planning turns a visual concept into a useful sales environment rather than a picture that looks good only on a screen.
Use graphics, lighting and decoration with purpose
Stall decoration ideas are most useful when they support a clear message. Start with what visitors need to remember. Then use structure, colour, lighting and graphics to make that message easy to notice and understand. Your booth might use an illuminated brand header, a focused product wall, a demonstration counter, a material sample area or a comfortable meeting corner—if each element serves a real visitor need.
- • Use one main headline that can be read from the aisle, then add supporting detail closer to the product.
- • Group related products together and label them with concise benefit-led copy.
- • Use lighting to guide attention to product details or demo areas instead of illuminating every surface equally.
- • Choose graphics with enough contrast and whitespace to remain readable in a crowded hall.
- • Include seating only if meetings are part of the plan; leave clear standing room for quick conversations.
- • Keep storage and cables organised so the space stays presentable throughout the show.
Good exhibition booth design makes the offer understandable, while decoration supports the atmosphere. Visitors should not need to decode a wall of text before they know what the company does. One clear message is easier to remember than a collection of competing signs and props.
Exhibition stall fabrication: materials, graphics and finish
Exhibition stall fabrication is where approved drawings become a physical booth. Ask the fabricator to explain the proposed materials, surface finishes, structural details, print method and assembly sequence. The right choice depends on the exhibition venue, design, budget, transport plan and whether components are intended for reuse.
Check that the scope covers more than the visible front. Ask how edges, joints, cable routes, storage doors and product fixtures will be finished. If the stand includes lighting, screens or powered equipment, confirm the electrical requirements and who coordinates venue services. Clear specifications reduce the need for last-minute substitutions or site improvisation.
Before choosing a fabricator, clarify whether production is in-house or subcontracted, who checks the build, and whether a pre-assembly review is available. Request samples or clear finish references when colour or texture matters. If a custom booth will be reused, ask which parts can be adapted for a different footprint and which graphics or panels need replacement.
Compare quotations against the same brief
A low estimate may omit important items. To compare quotations fairly, send all suppliers the same floor plan, deadline, products, reference brief and service requirements. Ask each exhibition stall fabricator or booth builder to identify what is included, excluded or provisional.
- • Concept development, 2D layout, 3D visuals and revisions.
- • Fabrication drawings, material specifications, graphics and finishing.
- • Furniture, product fixtures, lighting, electrical coordination and AV.
- • Transport, loading, venue access, installation, handover and dismantling.
- • Organiser submissions, taxes, venue services and any out-of-scope changes.
Ask how change requests are priced and who can approve them. Confirm the event dates, build-up window, venue, dimensions and quote validity in writing. The most useful quotation helps you understand the final scope—not just the price of the visible structure. Before deciding, make sure the proposals cover the same stages.
Planning a stall for an exhibition in another city or country
When your next show is away from your home market, the destination becomes an important part of the brief. Venues have different submission processes, access windows and technical rules. Send the organiser’s exhibitor manual early and confirm who is responsible for local approvals, logistics, installation and dismantling for that particular show.
Krrish Creation is based in Ahmedabad and supports projects across India and worldwide. For domestic exhibitions, explore our exhibition stall design in India page. If you are exhibiting in Maharashtra, our Mumbai planning guide provides another starting point for discussing your requirements.
For overseas events, review our guidance on working with an exhibition stand builder in Dubai or planning an exhibition stand in Germany. Share the exact venue and show details before requesting a proposal. The delivery arrangement, local responsibilities and inclusions should be confirmed for the event you are attending.
Decide what a successful exhibition looks like
Before discussing colours or shapes, decide what the exhibition should achieve for your business. A booth intended to introduce a new product will need a different visitor journey from one designed to collect distributor enquiries or demonstrate industrial equipment. Write down the action you want a visitor to take, then let that action guide the space plan, graphics and staffing approach.
Agree how you will record results before the show. Your sales team might use a simple lead form, CRM tags, QR landing page or meeting calendar. Make sure the call to action shown in the exhibition stall design matches the follow-up process your team can actually deliver. A beautiful booth is more useful when the next step is clear to both visitors and staff.
Build a clear brand and message hierarchy
Visitors often see a booth while walking, talking or scanning a crowded hall. Give them a quick way to understand who you are and why they should stop. A useful hierarchy usually includes the brand name, a short category or benefit statement, a small number of supporting points and product-level information for people who come closer. Keep the most important message at a readable height and avoid relying on paragraphs of copy across the back wall.
Bring the brand system into the design early. Share approved logos, colour values, fonts, image files and any mandatory product or regulatory wording. Tell the designer which messages are fixed and which can be shortened for the booth. This prevents late artwork changes and gives the fabrication team a more dependable production file. Check spelling, contact details, language versions and QR destinations on final proofs, especially when the event serves a multilingual audience.
Use the graphic layout to guide attention to the products, rather than competing with them. Large images can set context; concise labels can explain what a visitor is seeing; a demonstration or sample can make the benefit tangible. In a compact exhibition booth design, fewer strong elements are easier to notice than many small ones. Review the proposed layout from the aisle distance as well as on a full-screen render.
Make the space comfortable for visitors and staff
A practical layout considers the whole day, including busy periods, staff breaks and equipment use. Ask the team who will work on the stand how many people need to be present at once, where personal items can be stored and whether they need a seated meeting area. Consider whether visitors should browse freely or be welcomed by a host. These small details can affect counter placement, meeting furniture and the width of circulation paths.
Plan the path for different types of visitor. Someone passing by should be able to understand the offer without entering. A curious visitor should see an obvious place to pause. A qualified prospect should have a quieter place to discuss details. Keep the entrance free from furniture, leave room around working equipment and make sure product displays can be approached safely. If you expect queues for a demo or sample, discuss how those lines can be managed without spilling into a neighbouring stand or aisle.
Check practical needs that are easy to miss in an early visual: door swings, storage access, monitor sightlines, accessible routes, cleaning, waste, ventilation and cable covers. Confirm any venue accessibility requirements with the organiser. Brand impact matters, but so does safe, comfortable use. Ask your builder to identify assumptions on the floor plan so your team can catch operational issues before fabrication.
Plan for reuse, storage and responsible material choices
If your company exhibits several times a year, discuss reuse during the first design meeting. A stand may be designed as a reusable structure with replaceable graphics, counters or product fixtures. Before choosing this route, list likely future booth sizes, destinations, transport requirements and storage arrangements. A component that works well for one large island may not fit a smaller corner space without adaptation.
Material choices also affect appearance, durability and logistics. Ask the fabricator to explain the purpose of proposed boards, frames, finishes, flooring and printed surfaces. Where a lower-impact option is available and appropriate, request its specification and any care or reuse limitations. A credible proposal should explain the trade-offs clearly rather than making broad environmental claims without evidence.
Check venue rules, approvals and technical requirements
Every organiser and venue can set its own requirements for drawings, height, rigging, fire performance, electrical work, suspended elements and build-up access. The exhibitor manual and official floor plan are the starting points. Share the latest versions with the design and fabrication team, and ask who will prepare and submit any required documents. Record submission dates and approval status in the project schedule.
For a structure with a raised platform, overhead element, heavy product or complex lighting, confirm what technical information the venue expects and who is qualified to supply it. Do not treat a 3D rendering as an engineering approval. Verify load, electrical and safety requirements with the organiser or venue team, and ensure the responsible contractor understands the applicable rules. Requirements vary by show and location, so the supplier should confirm them for the specific event rather than assume a previous approval applies.
Plan for contingencies too. Ask how the team will manage a delayed delivery, a drawing revision, a damaged graphic or an unexpected venue instruction. Identify the decision-maker from your company and the project contact from the supplier. Clear escalation steps help the team respond quickly during build-up, when access windows are short and changes can affect opening readiness.
Shape the booth around what you are exhibiting
What you exhibit changes what the space needs to do. An engineering company exhibiting machinery may need a robust platform, clear viewing angles, safe operating boundaries and enough room for visitors to watch a demonstration. A building-materials supplier may need samples that can be compared by finish, size or performance. In both cases, product access and understandable labelling should inform the structure before decorative details are chosen.
A healthcare or pharmaceutical business may need distinct product categories, clean visual communication and a place for focused professional discussions. A food brand may need a sampling counter, storage for replenishment and a plan for queues. A technology company may rely on a live screen or software demo, which means reliable power, visible displays and a clear standing area matter. For textiles, furniture or interiors, texture, lighting and tactile samples can help visitors assess the offer.
These are starting considerations, not fixed templates. Ask your product and sales teams what visitors most often ask, which proof points help them decide and what should happen after the first conversation. Include those answers in your brief. The result should feel specific to the business without making the space hard to navigate.
Review what worked after the event
After the event, gather feedback while the experience is still fresh. Ask staff which areas attracted visitors, what questions they heard repeatedly, whether product displays worked and whether the meeting area was large enough. Review the number and quality of leads against the goal set before the show. If the booth included a QR code or digital form, check that visitors could use it and that the destination page loaded correctly.
Separate design issues from operational issues. A hard-to-read headline may call for different graphics; a crowded demonstration may need a revised layout; a missing product sample may be a preparation problem rather than a design problem. Capture photos of the finished stand and note which components can be reused or need repair. These observations make the next brief more accurate and can help you spend the budget where it matters.
Keep a short post-show record with event name, location, booth size, supplier scope, actual changes, lead results and lessons learned. If you exhibit across multiple cities or countries, this record can help compare venue logistics and adapt a modular system. A repeatable review process turns each event into practical input for better planning next time.
Final checklist before you approve the build
- • The design uses the organiser’s correct stall size, height limits and open sides.
- • The visitor route, product display, demo and meeting areas are workable.
- • Materials, graphics, lighting and technical requirements are recorded.
- • The quotation lists installation, transport, dismantling and exclusions.
- • Approvals, deadlines, revisions and project responsibilities have an owner.
- • The team knows how to contact the supplier during the venue build-up.
Free exhibition stall planning checklist
Not sure what to send a designer? Copy this short checklist into your enquiry so the team can understand your requirements from the first conversation:
- • Event, venue, dates and booked stall dimensions.
- • Number of open sides and official floor plan.
- • Brand assets, key message and product list.
- • Required displays, demonstrations, seating, storage and power.
- • Budget range, organiser deadlines and services needed.
Send this information to Krrish Creation to request a free 3D stall concept and project quotation. The concept can help you visualise a direction before you commit to fabrication; final deliverables and terms are confirmed against your brief.
See a direction for your next exhibition
Bring your floor plan and product requirements. Our team will review the brief, discuss the practical details and help you take the next step towards a booth built around your business.
Ready to plan your exhibition stall?
A successful booth brings together a clear message, a usable layout and a build scope your team understands. Share your exhibition date, venue, dimensions and product requirements with Krrish Creation to discuss design, fabrication and installation planning. Browse our completed exhibition stall projects or send your brief to get started.